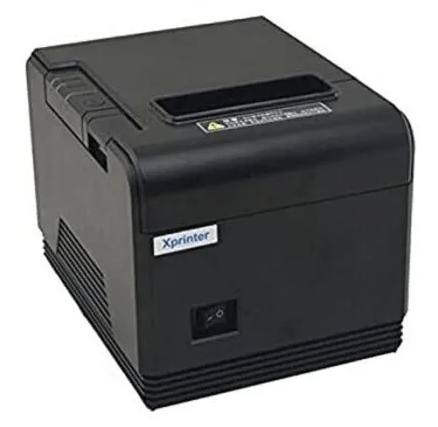
For this task, you will need its latest drivers which you can find below. Download and install the drivers from the below download links. Also find the how to install steps as well.
Xprinter XP-80 Driver Download Links
Step 1: In the download table, select your operating system.
Step 2: Click on the download link to download your Xprinter XP-80 driver setup file.
Xprinter XP-80 Driver for Windows
| Driver file details | Download |
| Xprinter XP-80 driver for Windows 11, 10, 8.1, 8, 7, Vista, XP, Server 2000, 2003, 2008, 2012, 2016, 2019, 2022 (32bit/64bit) | Driver Download (4.2 MB) |
Driver for Mac
| Driver file details | Download |
| Xprinter XP-80 driver for Mac OS 14.x Sonoma, 13.x, 12.x, 11.x, 10.x | Driver Download (4.0 MB) |
Driver for Linux/Ubuntu
| Driver file details | Download |
| Xprinter XP-80 driver for Linux and Ubuntu | Driver Download (66.4 KB) |
Driver for Android
| Driver file details | Download |
| Xprinter XP-80 driver for Android | Driver Download (2.2 MB) |
OR
Download the same driver (latest driver) from Xprinter website.
How to Install Xprinter XP-80 Printer Driver
Installation procedure for the Xprinter XP-80 driver is not much different than any other printer, but still you should read its installation guide to avoid mistakes during the installation process. Therefore, I have shared below the detailed installation guide for the full feature driver and basic driver (inf driver).
1) Install Xprinter XP-80 Printer Using Its Full Feature Driver
Following guide describes the right steps for installing the full feature Xprinter XP-80 driver on a Windows operating system. You can use this installation process for all the versions of the Windows operating system.
- Run the full feature driver file, then choose the ‘I accept the agreement’ option and click on the ‘Next’ button.
- Click on the ‘Next’ button to proceed.
- Click on the ‘Next’ button.
- Click on the ‘Install’ button.
- Wait for the installation of the driver to complete on your computer.
- Click on the ‘Finish’ button to close the setup program.
- Select your OS version, I chose ‘Windows 10’, select your connecting port, I chose the ‘USB’ port, finally, select the ‘XP-80C’ printer model, then click on the ‘Install Now’ button.
- If you want to configure your printer now, then click on the ‘Yes’ button, otherwise, click on the ‘No’ button.
That’s it, you have installed the Xprinter XP-80 driver package on your computer.
2) Install Xprinter XP-80 Printer Using Its Basic Driver
You can choose to install this printer by using its Xprinter XP-80 basic driver. In such a scenario you must read the article: How to install a printer driver manually using basic driver (.INF driver).
Specification & Features
The Xprinter XP-80 receipt printer has a beautiful appearance, and is capable of delivering high-grade performance. The receipt printer comes with multiple connectivity options, including USB, LAN, Serial and Bluetooth interfaces.
Toner/Ink Cartridge Details: This Xprinter receipt printer doesn’t use any ink or toner cartridges.
diver for xp-80T can use for other version ?
Yes, it will work for all the the XP-80 series printers.