Microtek XT3300 is an scanner that scans books smartly upto A4 size. It is a flatbed scanner specially designed for scanning book & magazine with borderless scans. It is an innovative solution for book scanning. Most of the institutes are using this scanner to scan books.
This was the introduction of this scanner. Now coming to the installation part. You’ll need the driver to set up this scanner on your computer (Windows, Linux and Mac OS X).
Microtek XT3300 driver download link and installation guidelines are given below to set up this scanner.
Let’s go ahead and start with downloading the drivers.
Download Microtek XT 3300 Scanner Driver
- Determine your Operating System – which operating system you use.
- After knowing that, click on the download button from the below given list.
Download Links
Click on the download button located in front of the operating system version given the list below to download the driver file.
| Driver Description | Download Links |
| Microtek XT3300 scanner driver for Windows 10, 8.1, 8, Win 7, Vista, XP, Server 2000, 2003, 2008, 2012, 2016, 2019 – R2 (32bit / 64bit) | Download (Driver) Download (Software) Download (Doc Wizard Software) Download (Doc Wizard Software FT) |
| Microtek XT3300 driver for macOS 10.0, 10.1, 10.2, 10.3, 10.4, 10.5, 10.6, 10.7, 10.8, 10.9, 10.10, 10.11, 10.12, 10.13, 10.14, 10.15, 11 Big Sur | Download |
| Microtek XT3300 driver for Linux & Ubuntu | Linux driver is not available |
| OR | |
| Download Microtek XT3300 driver from its official website | Click here to go official website |
How to Install Microtek XT3300 Scanner Driver
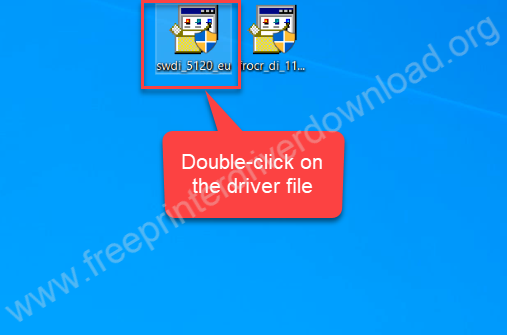
Step 1: After downloading the driver from the above link, double click on the “” file. Click on YES if it asks for permission.
Step 2: It is extracting the driver files. So please wait.
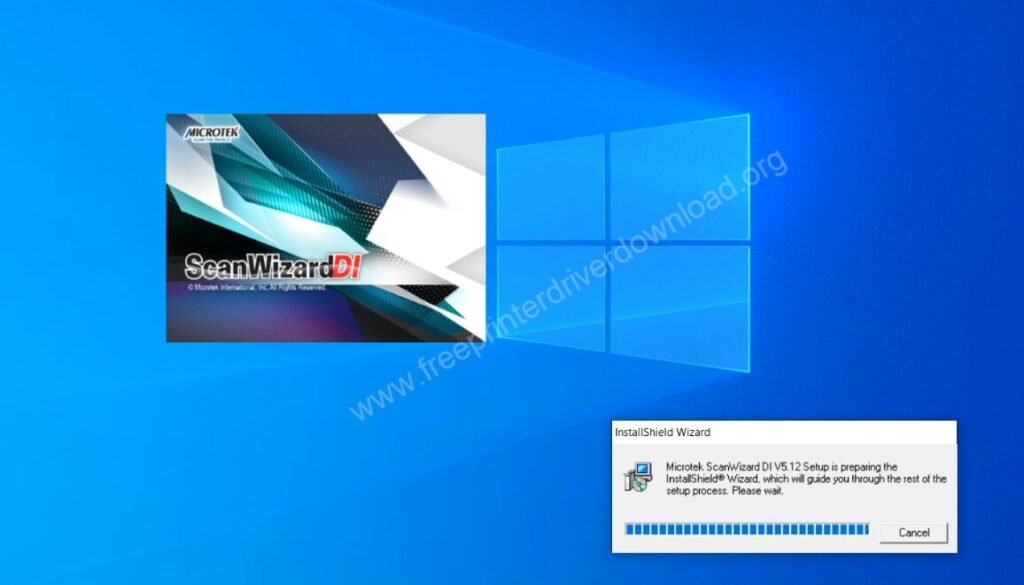
Step 3: It is preparing, so please wait.
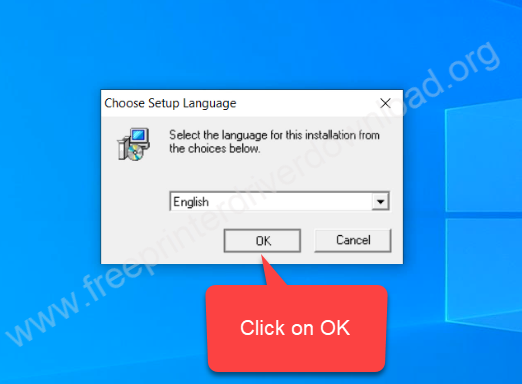
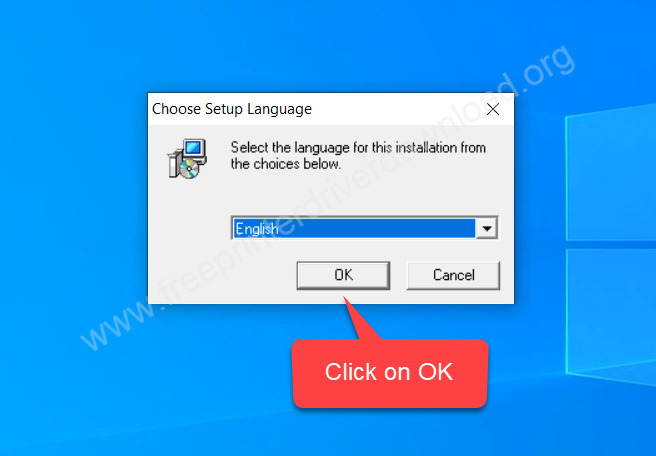
Step 4: Select your preferred language and then click on English.
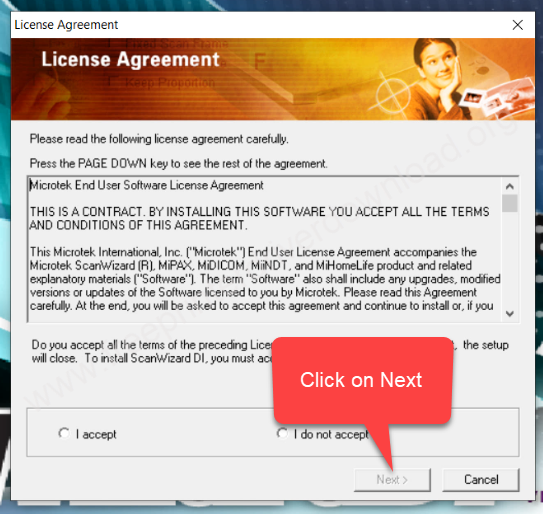
Step 5: Select “I agree” and then click on Next.
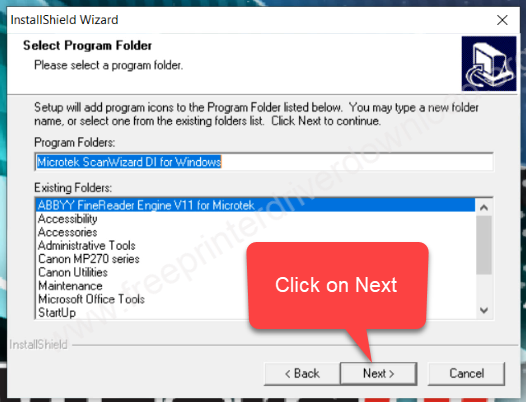
Step 6: Click on Next
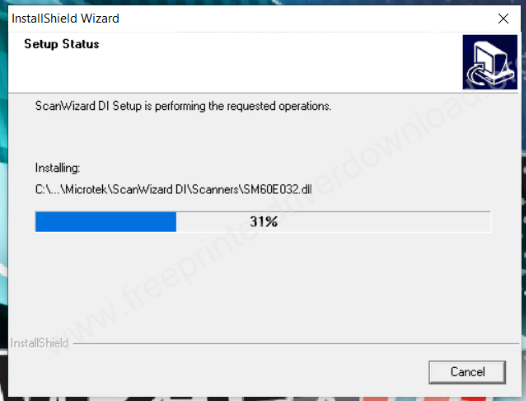
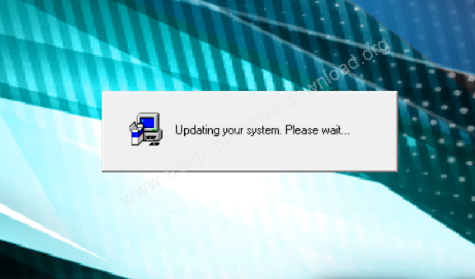
Step 7: It is installing, so please wait.
Step 8: Please wait.
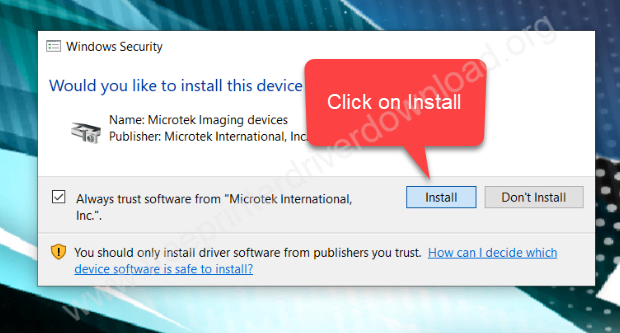
Step 9: Select the option “Always trust..” and then click on install.
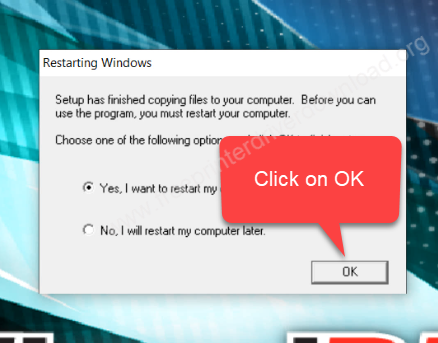
Step 10: You need to reboot your computer. Click on OK.
Step 11: As you can see then XT3300 driver has been installed successfully.
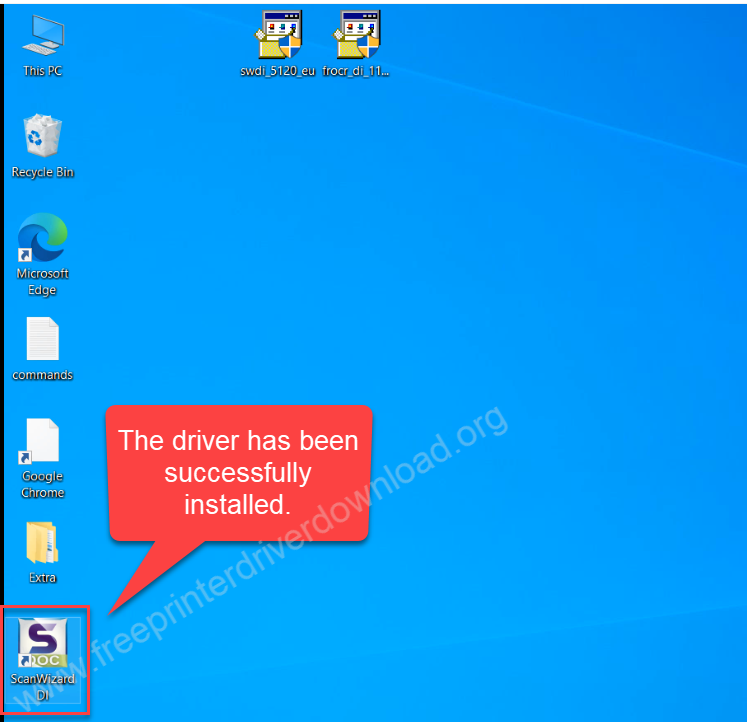
That’s it. Your printer driver should be installed.
How to Install Microtek XT3300 Scanner Software
Step 1: After downloading the software from the above link, double click on the “” file. Click on YES if it asks for permission.

Step 2: After that, the driver installer starts extracting the driver files and let it be complete.
Step 3: Select the language to English and click on OK.
Step 4: It is preparing the installation. Please wait while it is preparing the installation.
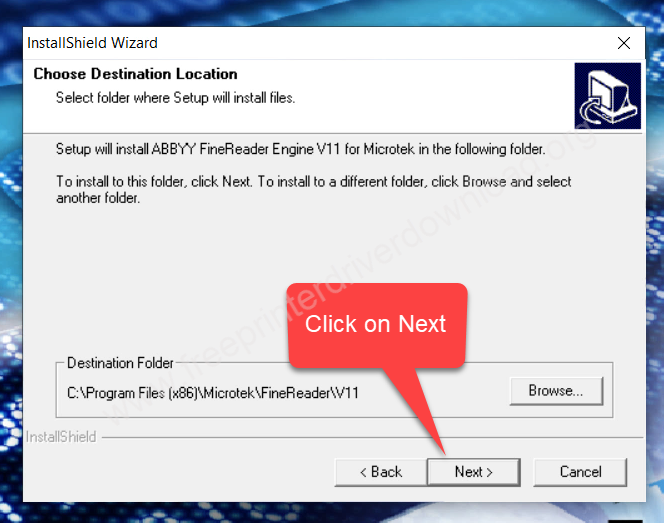
Step 5: Click on Next
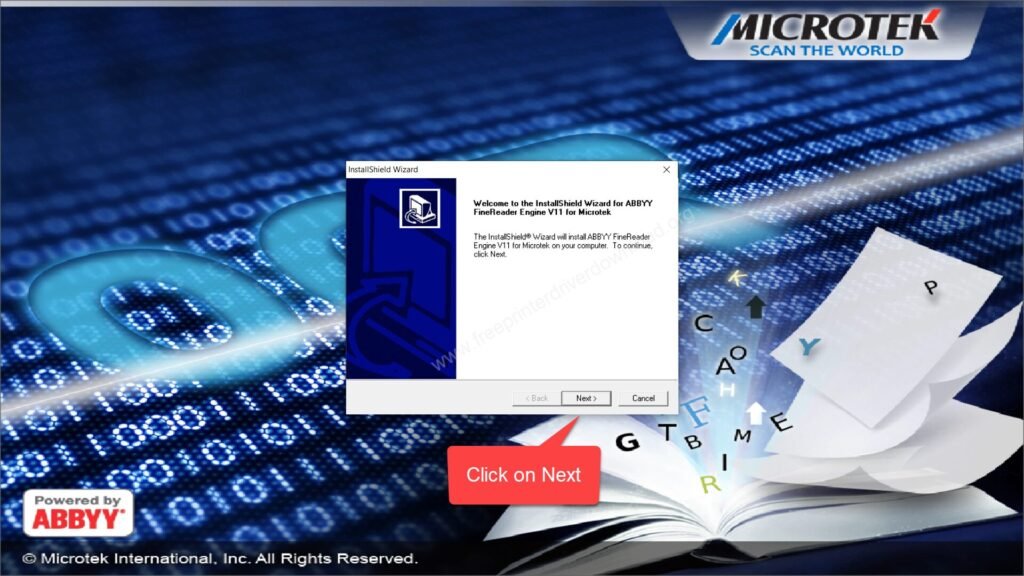
Step 6: Click on Next again.
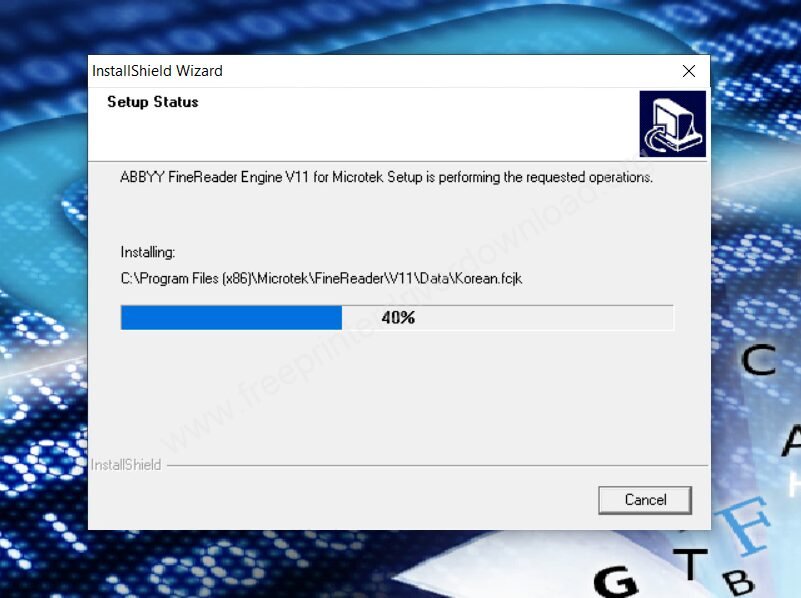
Step 7: Please wait while installing the drivers.
Step 8: Click on Finish.
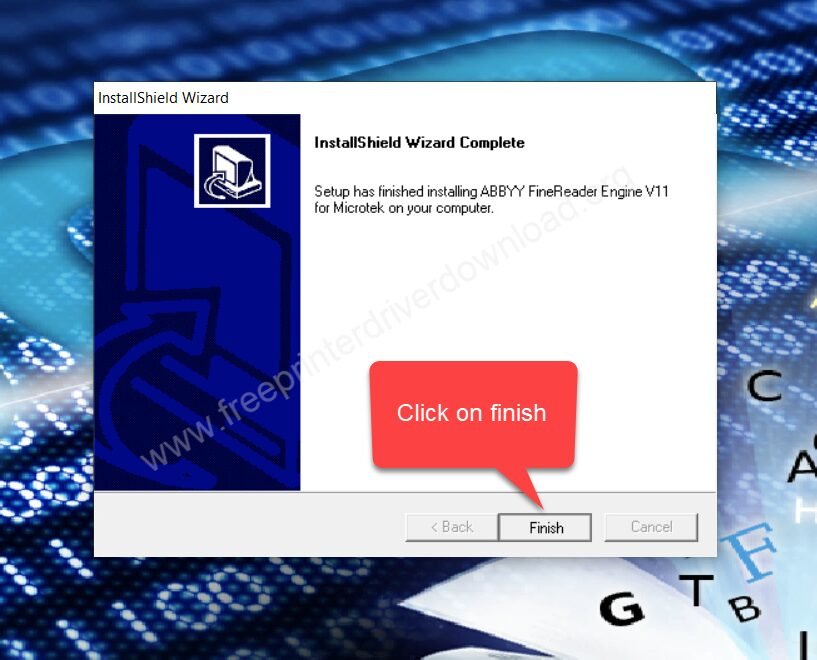
That’s it. The Microtek xt3300 printer should be successfully installed.