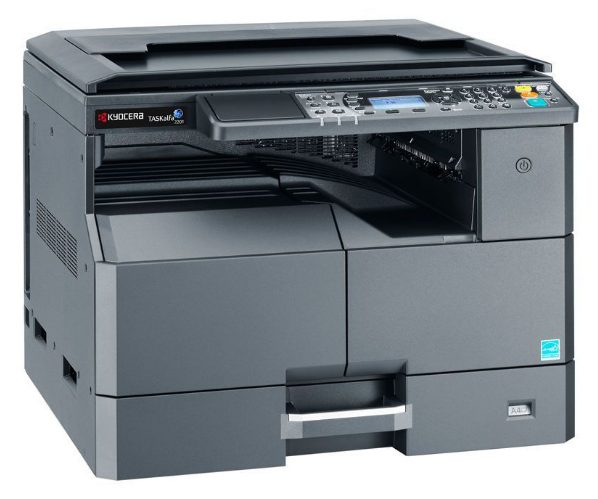
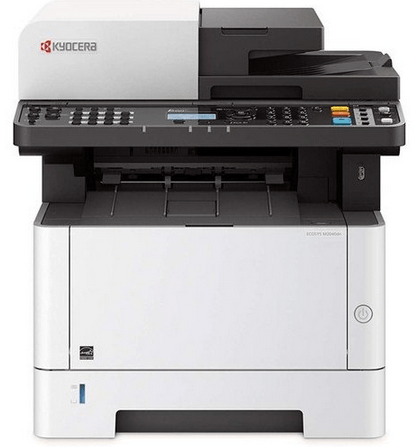
For proper installation of Kyocera Ecosys M2040DN / M2040DW printer, you must use its latest Kyocera Ecosys M2040DN / DW driver package. This package contains all the drivers and software which are necessary for the proper installation and functioning of this multi-function printing device.
The Kyocera Ecosys M2040DN KX all-in-one laser printer offers print, scan and copy functions. Designed for office work, this Kyocera monochrome laser printer has a top print speed of up to 40 ppm. This printer supports duplex printing and has a maximum input capacity of up to 850 sheets.
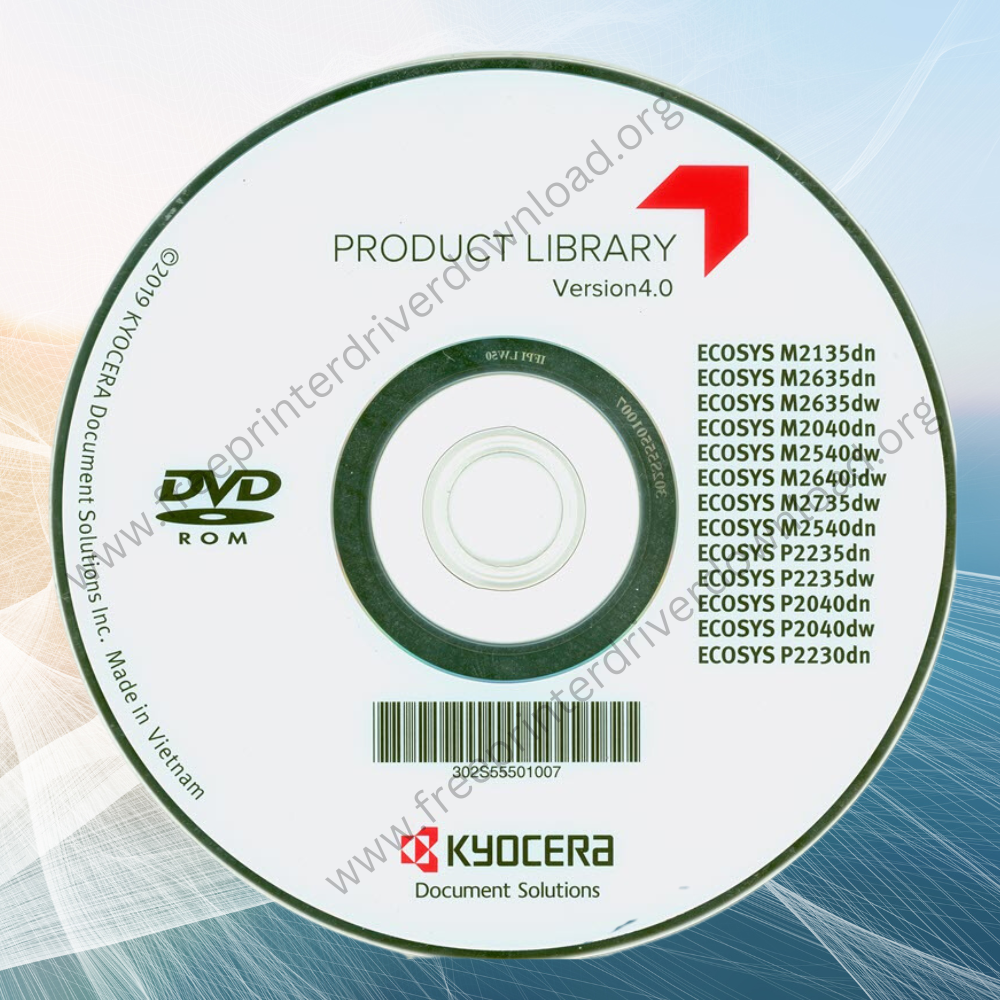
On this page, we are sharing Kyocera Ecosys M2040DN driver download links for Windows 11, 10, 8, 8.1, 7, Vista, XP (32bit / 64bit), Server 2000 to 2022, Linux, Ubuntu, and Mac 10.x, 11.x, 12.x, 13.x Ventura operating systems. If you have lost your Kyocera Ecosys M2040DN software CD, then the driver package given below is its best alternative.
Steps to download Kyocera Ecosys M2040DN / DW Driver
- Select your preferred operating system from our list.
- Use the download button to get your Kyocera Ecosys M2040DN / M1240DW driver setup file.


Kyocera Ecosys M2040DN / DW Driver Download links
Click on the download links given below according to your operating system.
Download Driver CD
(for Windows 11, 10, 8, 8.1, 7, Vista, XP, MAC, Linux)

OR
Download the driver directly from the Kyocera Ecosys M2040DN official website.
How to Install Kyocera ECOSYS M2040dw Printer Driver
In this section, I will share the detailed installation guide for the full feature and basic driver (INF driver). These installation guide must be read if you want to connect this Kyocera ECOSYS printer with your computer via USB connectivity option. Select the installation guide, which is related to your driver, then follow its installation instructions to properly install the Kyocera ECOSYS M2040dn / M2040w printer drivers on your computer.
USB Connection Installation
1) Full Feature Driver
Following installation guide will explain the installation method of the full feature Kyocera ECOSYS M2040dn / M2040dw driver on a Windows computer. I have provided an image file for each installation step so that you can complete the driver installation process without making any mistake. You can use the installation steps given below for all the versions of the Windows operating system.
- Right click the driver package file downloaded from this guide and click on the ‘Extract All’ option in the menu.


- If you want, then you can change the location of the folder where you will be extracting the setup files. If you don’t want to change the folder location, then proceed with the default location, just note down the address of the folder. Finally, click on the ‘Extract’ button.


- Wait for the unzipping of the driver files to complete.


- Go inside the folder where the setup files were extracted, then locate and right click the ‘Setup’ file and choose the ‘Run as administrator’ option from the menu.


- Wait for the Kyocera Product Library program to launch on your computer.


- Click on the ‘Accept’ button to agree with the terms and conditions of the license agreement.


- Click on the ‘OK’ button to proceed.


- In the Welcome screen, click on the ‘Express Install’ option to proceed. Also, make sure that your Kyocera printer is connected with your computer via USB cable.


- In the list of devices, select the ‘ECOSYS M2040dn’ printer and make sure that you have selected all the programs which you want to install for this printer. Finally, click on the ‘Install’ button.


- Kyocera would want you to share your application usage data with the company. There are some benefits of sharing this data, therefore, I will recommend selecting the ‘Yes, I want to help improve your products’ option. If you don’t want to share your data, then choose the ‘No, I do not wish to take part in this feature’ option. Finally, click on the ‘OK’ button.


- Wait for the installation of the drivers and software to complete on your computer.


- When you see the message that the software installation has finished, then click on the ‘Finish’ button to close the installer program.


That’s it, you have successfully completed the installation of the Kyocera ECOSYS M2040dn / M2040dw driver package on your computer. Your Kyocera printer is now ready for use.
2) Basic Driver
If you want to install this Kyocera printer by using its Kyocera ECOSYS M2040dn / M2040dw basic driver, then you should read the installation guide provided below. I have clearly described in our guide the right method of installing the Kyocera ECOSYS M2040dn / M2040dw INF driver on a Windows computer. Read the article: How to install a printer driver manually using basic driver (.INF driver).
Wireless (WiFi) Connection Installation
The Kyocera ECOSYS M2040dw printer supports wireless connectivity feature. Therefore, I have prepared this guide which clearly explains the setup process for wirelessly connecting the Kyocera ECOSYS M2040dn printer with your Wi-Fi network. Before starting this setup process, make sure that your wireless network is working properly and is ready to connect with other wireless devices.
- Make sure that your Kyocera ECOSYS printer is turned on, then press the ‘System Menu’ button on the control panel.


- In the System menu, use the ‘down’ arrow key to select the ‘System/Network’ option in the menu.


- Once ‘System/Network’ option is selected, then press the ‘OK’ button.


- Make sure that the ‘Network Setting’ option is selected, then press the ‘OK’ button.


- In the Network Setting menu, use the ‘down’ arrow key to select the ‘Wi-Fi Settings’ menu option.


- Once ‘Wi-Fi Settings’ option is selected, then press the ‘OK’ button.


- In the Wi-Fi Settings menu, make sure that the ‘Wi-Fi’ option is selected, then press the ‘OK’ button.


- In the Wi-Fi menu, use the ‘down’ arrow key to select the ‘On’ option.


- Once the ‘On’ option is selected, then press the ‘OK’ button on the control panel.


- Wait for the printer to restart. This process may take a few minutes to complete, so be patient.


- In the Wi-Fi Settings menu, use the ‘down’ arrow key to select the ‘Connect-SelectNW’ menu option.


- Once ‘Connect-SelectNW’ option is selected, then press the ‘OK’ button on the control panel.


- You will see the list of active wireless networks detected by your printer. Choose your preferred wireless network from the list, then press the ‘OK’ button.


- Use the numpad keys on the control panel of your printer to enter the wireless network password, then press the ‘OK’ button.


- Wait for the printer to connect with the wireless network.


- When you see the message ‘Completed’ on the display screen, then it means that your printer has successfully connected with your chosen Wi-Fi network.


- Press the button beneath the ‘Exit’ option to exit the system menu.


That’s it, now your Kyocera ECOSYS M2040dw printer is connected with your Wi-Fi network. You can now use all the computing devices connected with your Wi-Fi network to send print, scan and copy commands to your Kyocera ECOSYS printer.
More Details About Kyocera M2040DN
The Kyocera Ecosys M2040DN all-in-one is used in high workload offices. Therefore, you must install it with the full feature Kyocera Ecosys M2040DN driver. By doing this will ensure that this printer will be using all the drivers and additional software which has been especially bundled by Kyocera for its superior performance.
Supported Operating Systems:
Windows XP to Windows 11 (32bit / 64-bit)
Server 2000 to 2022 (32bit / 64-bit)
Mac OS 10.x, 11.x, 12.x Monterey, 13.x Ventura
Linux & Ubuntu
Ink Cartridge:
This Kyocera laser printer uses one Black (TK1170) toner cartridge.


just wanted to say thanks for your instructions which were very clear re the printer driver installation, but do you have equivalent instructions to install the latest M2040dn scanner driver? I went through the same steps as you set out for the printer driver, but when I got to your step 8 (for a USB port installation), it didn’t give me an “express installation” option , just a “custom installation” or an uninstall and I wasn’t sure what to do. Thanks again
No, the same steps and the same driver won’t work for the scanner installation. You’ll have to apply the scanner installation dedicated steps. You will have to install it manually. Here’s how you can install the scanner manually.
Step 1: Download the scanner driver from this link: https://download.freeprinterdriverdownload.org/download/kyocera/kyocera-ecosys-m2040dn/kyocera-ecosys-m2040-scanner-inf-driver.zip
Step 2: Unzip the driver zip file, you will get three folders there: TWAIN, USBSCN and WIA. For the USB connection, go to the “USBSCN“ folder and use “kmusbscn.inf“ file when the manual installation process asks for the scanner driver. Watch this video tutorial to learn how to install a scanner driver manually.
Note: If you would like to install the scanner through Network/WiFi then you will have to go to “WIA” folder and choose its scanner driver file.
Good and was helpful
Glad to know that it worked for you!
what is the size of the file
Printer driver is 111 MB and scanner driver is around 44.7 MB. Both are given in the download section, please check it out.
GOOD
No comments
ready to download