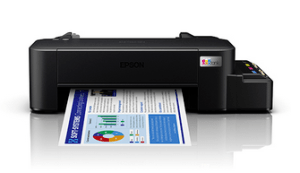
Question: How can I connect my EPSON ECOTANK L121 Printer to PC


What Can I do? pls Help me
Thank you in advance.
Answer:
Follow the steps below to correctly set up the Epson L121 printer on your computer. This will fix the problem.
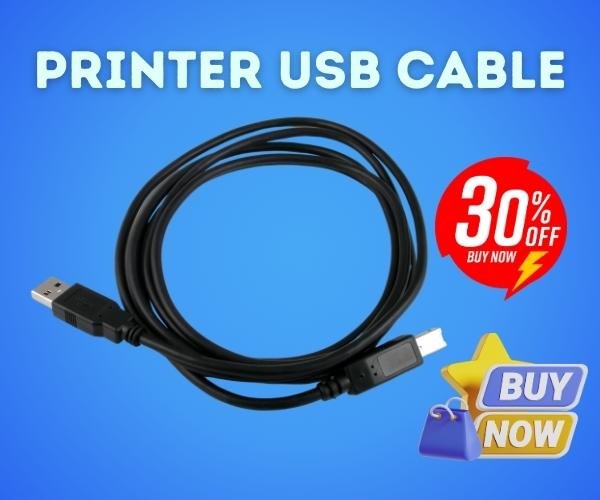
Step 1: Disconnect your printer’s USB cable from the computer.
Step 2: Now download the full-feature driver for the Epson L121 printer. Click here to download. If this doesn’t work, then try the basic driver.
Step 3: Double-click on the downloaded full-feature driver setup file to start the installation. Follow its on-screen installation instructions.
Step 4: Later on, it will prompt you to connect the printer to the computer. Now, please connect the USB cable of your printer to the computer’s USB port. Make sure the cable is connected to one of the back-side USB ports of the computer. Do not use any type of USB hub or front panel USB ports. Also make sure the printer is turned on.
Step 5: After connecting the printer’s USB cable to the computer, it will start detecting the printer in the driver-installer. Afterwards, follow further instructions to complete the installation.
Step 6: If your printer is not being detected by the driver installer, then it’s time to troubleshoot the USB drivers. Uninstall all USB drivers from the “device manager” of your computer and reboot your computer. Afterwards, all the uninstalled USB drivers will be installed automatically once you restart the computer.
Step 7: Starting installing the printer again using its full feature driver with the same steps, this time the installer will detect the printer. Try the basic driver to see if the full feature will act the same.
If this doesn’t work, please let me know in the comment section below.
Daniel replied after a few hours (Question Asker):
Hello, it worked. Thank you for your help. I appreciate it.


