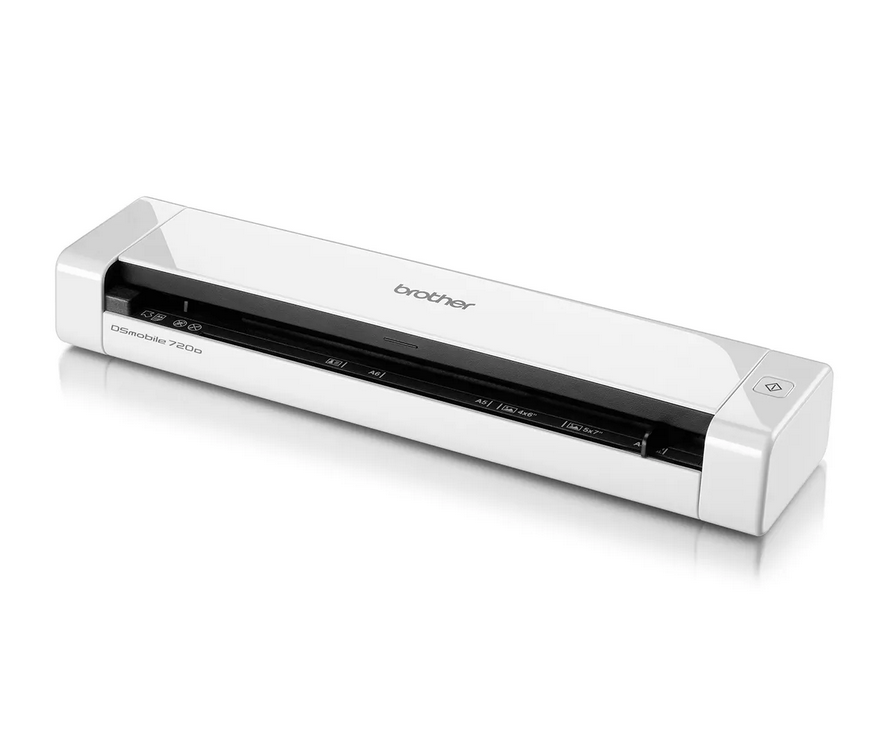
If you have upgraded / updated your Windows to the latest version and your Brother DSmobile 720D scanner has stopped working after the update. Then it’s time to update the scanner driver as well. I recommend you to uninstall the outdated driver and install a new version driver on your computer to get the consistent performance. You will need to download the Brother 720D scanner latest driver. To download the driver, just go to the download section given below on this page and click on the download button according to your operating system version.
Download the Brother DSmobile 720D Scanner Driver
Click on the download button located in front of the operating system version given in the list below to download the driver file.
Driver for Brother DSmobile 720D Scanner
Type: Full feature driver Operating System: Windows File Size: 27.9 MB Version: 1.0 Download Driver| Driver Description | Download Links |
| Brother DSmobile 720D driver for Windows 11, 10, 8.1, 8, Win 7, Vista, XP, Server 2000, 2003, 2008, 2012, 2016, 2019, 2022 – R2 | Download (32bit / 64bit) |
| Brother DSmobile 720D driver for Linux & Ubuntu | Download (32bit) Download (64bit) |
| Brother DS-mobile 720D driver for macOS 10.6, 10.7, 10.8, 10.9, 10.10, 10.11, 10.12 | Download |
| Brother DSmobile 720D driver for macOS 10.13, 10.14, 10.15, 11.x, 12.x, 13.x, 14.x, 15.x | Download |
OR
You may download the same driver directly from the Brother official download page.
How to Install Brother DSmobile 720D Scanner Driver
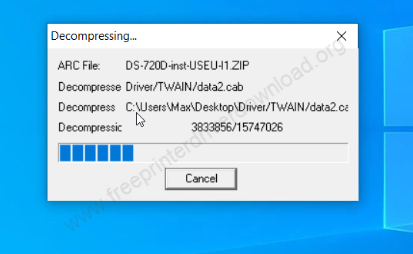
Step 1: Double-click on the driver’s setup file.

Step 2: It is now extracting / unzipping the driver files from the setup file.
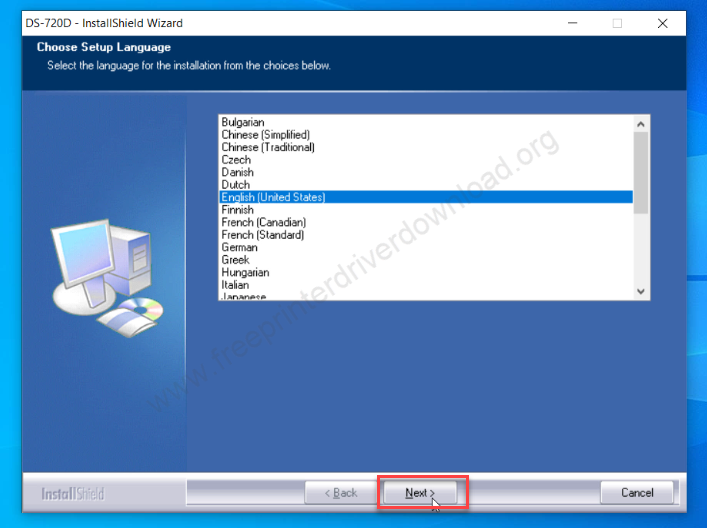
Step 3: Select your preferred language and then click on Next.
Step 4: Please wait while preparing.

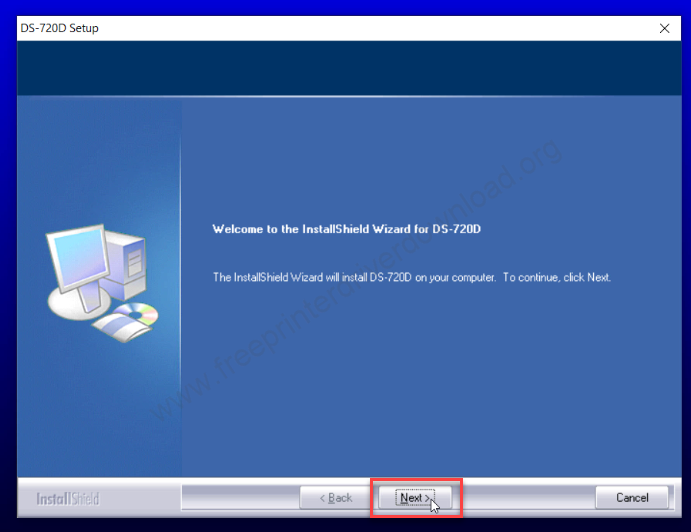
Step 5: Click on Next
Step 6: Accept the agreement by clicking on Yes.

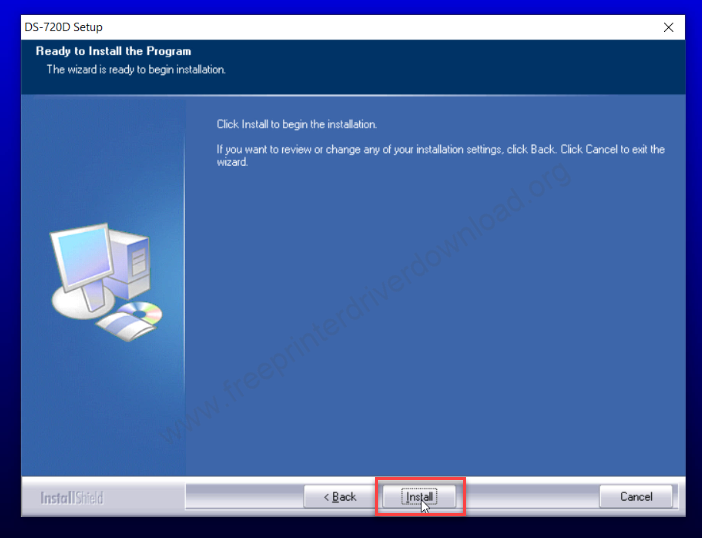
Step 7: Click on Install.
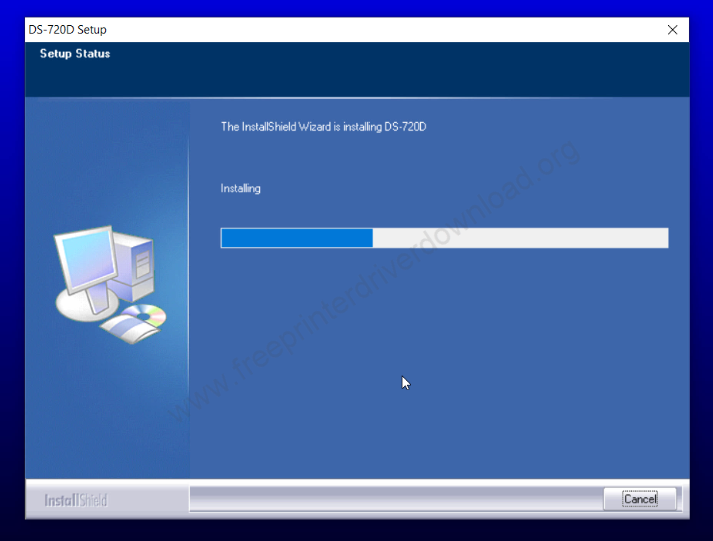
Step 8: Please wait while installing the main drivers.
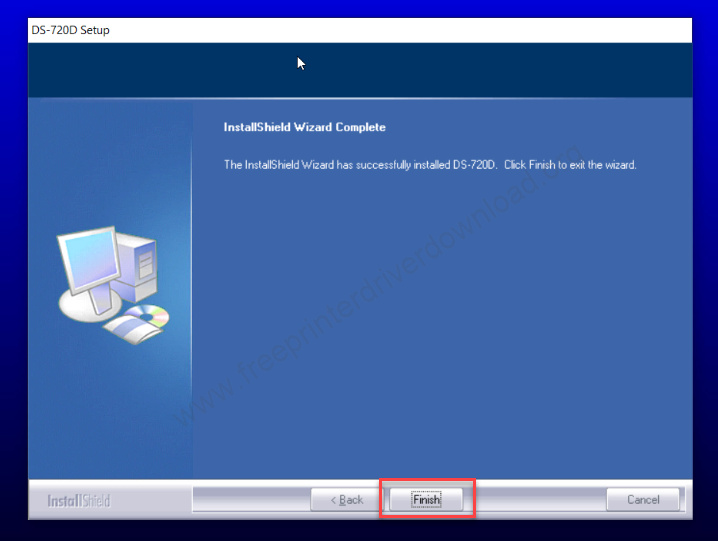
Step 9: Congratulations!! The installation has been completed successfully..
Step 10: As you can see the there are new icons that have been created by this installer. This shows that the driver has been installed successfully.
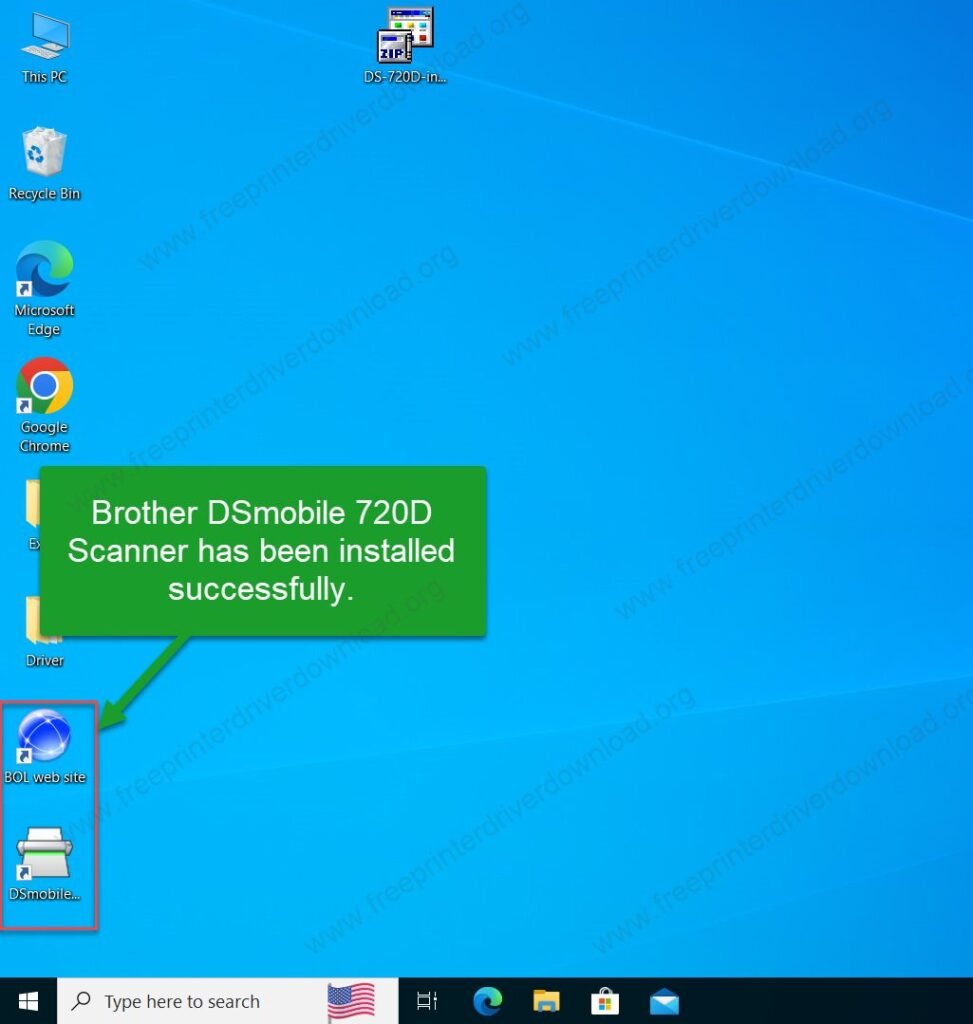
That’s it.
Hopefully, you can install the Brother DS 720 D scanner on your computer using this tutorial.