


Brother DCP T426w is a wireless inkjet color printer. In order to use all the features of this printer through your computer, you will need to install the latest version driver on your computer. Although you can get the driver from the driver CD that came with the printer. Alternatively, you can also download the latest version driver from the Internet. For your convenience, I have provided the Brother DCP T426w driver in the download section given below. After downloading the drivers, you must read the “how to install” guide which will help you to know the right process of installing this printer on your computer. So, let’s start by downloading the drivers first.
Download Brother DCP T426w Printer Driver
In order to download Brother DCP T426w drivers, go to the below given list and click on the download button according to the version of your operating system.
Driver for Brother DCP T426w Printer
Type: Full feature driver Operating System: Windows 11, 8, 8.1, 7, Vista, XP, Server File Size: 228 MB Version: 2.0 Download DriverBasic Driver for Brother DCP T426w Printer
Type: Basic Driver Operating System: Windows 11, 8, 8.1, 7, Vista, XP, Server File Size: 48.9 MB Version: 2.0 Download DriverDriver for Brother DCP T426w Printer
Type: Full feature driver Operating System: Mac 10.x, 11.x, 12.x, 13.x, 14.x, 15.x File Size: 20.7 MB Version: 9.1 Download DriverPrinter Driver for Driver for Brother DCP T426w Printer
Type: Full feature driver Operating System: Linux File Size: 0.8 MB Version: 3.5 Download DriverFull Feature Driver for Driver for Brother DCP T426w Scanner
Type: Scanner Driver Operating System: Linux File Size: 544 KB Version: 5.1 Download DriverOr
You may download the driver from Brother’s official website.
How to Install Brother DCP T426w Printer Driver
After downloading the drivers, you must know the right process of installing this printer. Follow the below given step-by-step guide.
Step 1: Double-click on the downloaded driver file.


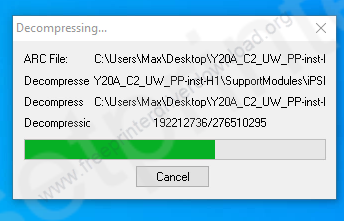
Step 2: Please wait while extracting the drivers.

Step 3: Choose the preferred language and then click on Next.


Step 4: Choose the option “I accept” and click on Next.


Step 5: Select the preferred connection type and then click on Next.


Step 6: Connect the USB cable of your printer to the computer.


Step 7: On this screen, the printer will be listed here after detected.

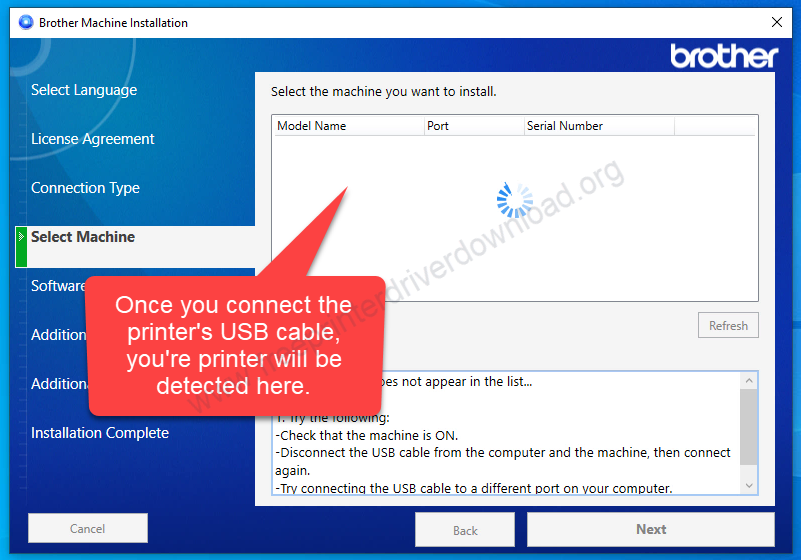
That’s it. After connecting the printer to the computer through USB cable and then click on Next and then Finish to complete the installation.
Hopefully, you can easily install the Brother DCP T426w printer on your computer by following the above given step-by-step guide. If you have any doubt or problem, please leave your question in the comments section below.

